
Create and host your static website for free
/ 4 min read
Yeah it’s right, it is possible to host your website for free. In this article, I will explain how to achieve this by putting your own web project online with the push of a single button!
The services we will use
Netlify
Netlify is a service to manage, build and deploy your web projects. Paid options are available, but for our needs the free version will be enough. This is a product I love and I use for some of my own projects.
Netlify CMS
Netlify CMS is a free content management tool that will allow you to manage your articles from an admin page directly from your website. The management is extremely simplistic and intuitive.
Read this page to learn more about the difference between Netlify and Netlify CMS.
GitHub
GitHub is a tool for managing source code. As you have probably guessed, this is the one that will host the sources of your project.
Before continuing, I invite you to open an account on GitHub.
Base website
Step one: Netlify CMS
Go to this page to choose a starting template. At the time of writing this article, you will have the following 3 possibilities: Hugo, Gatsby and Middleman.
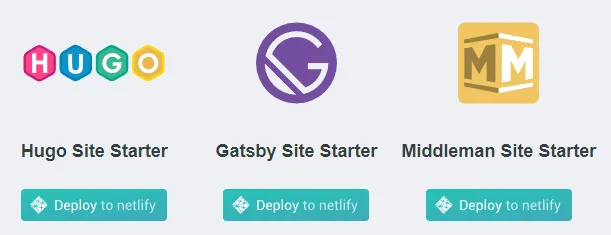
To continue, click on Hugo’s “Deploy to Netlify” button to continue with the deployment of a basic template including Netlify CMS and the static site builder Hugo. Since Hugo is heavily used, you will have no problem finding answers to resolve future difficulties you may encounter while developing your site.
Once you have clicked on the button, you will be redirected to a page asking you to authenticate with your GitHub account (yes, the account you are supposed to have created …). Once authenticated, Netlify will ask you to choose the repository name to create in your GitHub account. This is where you will find the sources of your site. The name does not matter, but I suggest you still choose a name that jaze you (eg: medium.com, my-site, etc.).
When you have decided and entered your new repository name, you can continue by clicking on “Save & Deploy” to start the creation of your new repository that will contain the sources of your site.
Step Two: A little patience and it will be online
Oh yes ! Now just a little patience and Netlify will inform you that your site is now online and accessible via a rather ugly internet address!
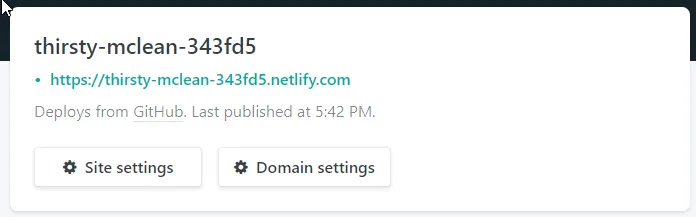
OK, no reason to panic. It is possible to configure a much more friendly internet address, much like medium.com, if you own it.
If you do not own a domain name, you can purchase it from Netlify or another domain name provider. Speaking of this, I suggest you take a tour at Namecheap which offers an outstanding service with excellent prices. Being one of their client for a long time, I can only recommend them.
To avoid deviating too much from the subject and weigh down this article, I will do another article to explain how to add your domain name on Netlify to have an address as cool as your favorites websites.
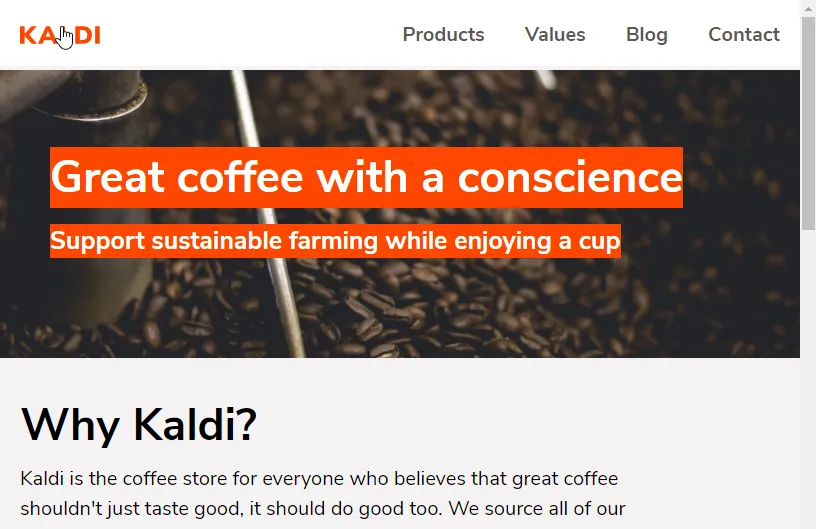
Now, you should have a site all fresh and available online via the address provided by Netlify.
Step Three: The Administration Page
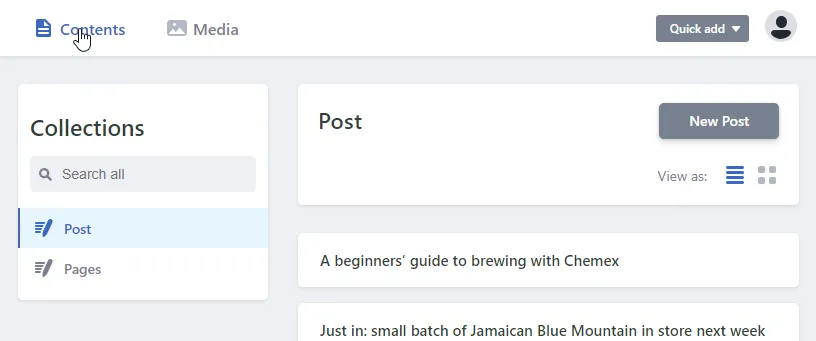
Thanks to the use of Netlify CMS, you already have access to an administration section allowing you to manage your pages and articles directly from your site. In order to access this page, you must add /admin at the end of your internet address.
Thus the address https://thirsty-mclean-343fd5.netlify.com/ will give https://thirsty-mclean-343fd5.netlify.com/admin
You will arrive on a very simple page … no comments needed 😉. Click on Login with Netlify Identity
Oupsss! Let’s add another step here.
Step Four: Identity Management
In order to be able to authenticate you on the admin page, we need to add create some credentials using the Netlify control panel of your new site.
From the Identitypage on Netlify, you have to send an invitation (I know, it’s strange … but it’s like that) and confirm it from the email that will be sent to you. Once you have created and confirmed your identity, you will be able to login on the admin page and start managing your pages and articles.
What to do next
You will understand that for the moment your site is, rather, impersonal and that you will need a little more than just laying articles to make it represents you. Since the purpose of the article was to show you how to host your static site for free and that this goal is reached, I will allow myself to stop there and write other articles that will concern the personalization, the use of a Custom domain name and securing your site through a secure domain.